Cast On For Socks and Knit Toe
Learn Judy’s Magic Cast-On
")
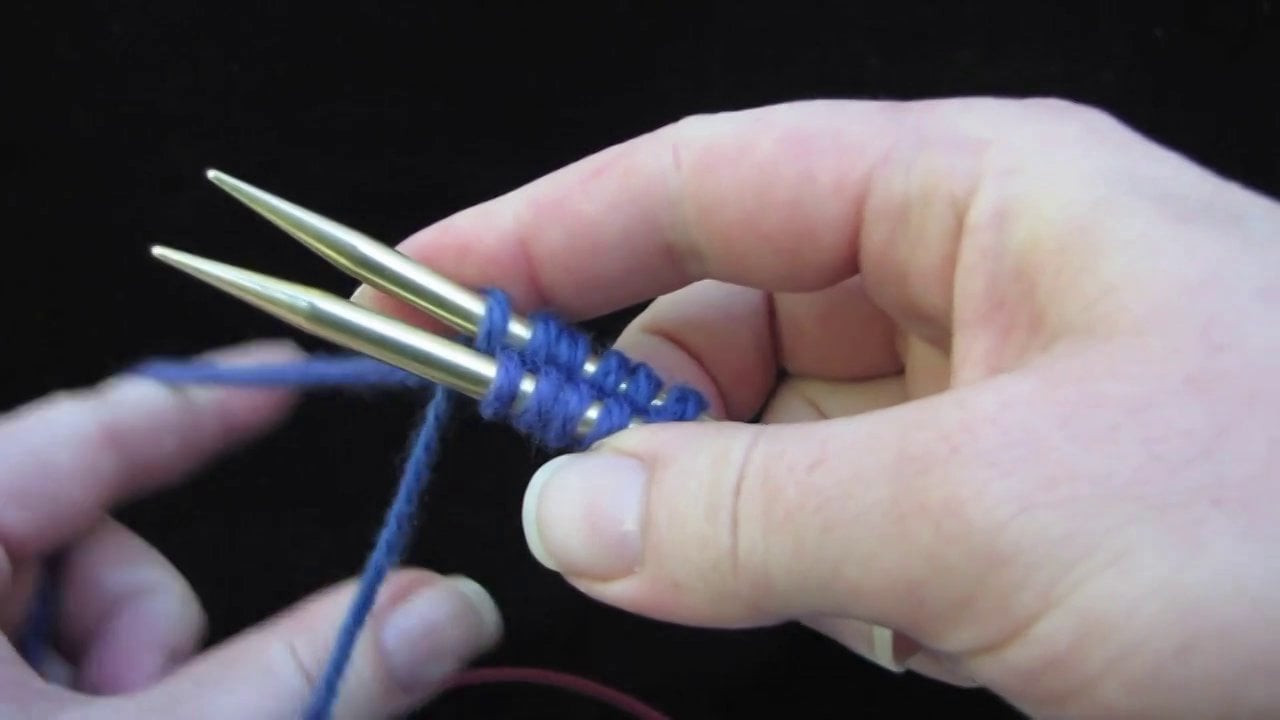
Judy’s Magic Cast-On is a fantastic double-sided cast-on.
Not only is it the sturdiest of the double-sided cast-ons, in my opinion it is also the easiest to knit into, which is when it really counts.
Invented by Judy Becker, this cast-on creates a row of knitting in between the two rows of live stitches on your needles.
I recommend using a long circular needle instead of double-points to do this cast-on.
One of the greatest inventions of all time, Judy’s Magic Cast-On was originally published in Knitty.com’s Spring issue of ’06 and is absolutely the best way to start toe-up socks. This video shows you how.
Judy's Magic Cast-On
Tips:
1. Twist your working yarn and tail yarn around each other once when you finish the cast-on. This will hold the stitches in place.
2. Make sure to place a marker at the beginning of the round, since your tail will be on the inside of your work and, after a while, you won’t be able to see it.
3. To knit the first round, start with the knit side facing towards you and the needle tips pointing to the right. Pull the bottom needle out to start knitting in the round using Magic Loop.
More Info:
To do Judy’s Magic Cast-On (JMCO) for Two-at-at-Time Toe-Up Socks, see this video.
The matching bind-off for this and all double-sided cast-ons is Kitchener Stitch.
Cast On For Both Socks

Two-at-a-time toe-up socks are one of my favorite uses of Judy’s Magic Cast-On.
If you are comfortable with Magic Loop knitting and Judy’s Magic Cast-On, combine the two skills to start a pair of toe-up socks.
Not only are toe-up socks fast to knit, there’s no heel flap or picking up stitches. In the video below, I walk you through casting on for a two-at-a-time toe-up project.
We start by casting on for one sock, and then immediately we use the second ball of yarn to cast on for the second sock.
I’ll show you how to use Magic Loop to work one round, two-at-a-time, and then it’s time to begin to increase.
Two-at-a-Time Knitting with Judy's Magic Cast-On
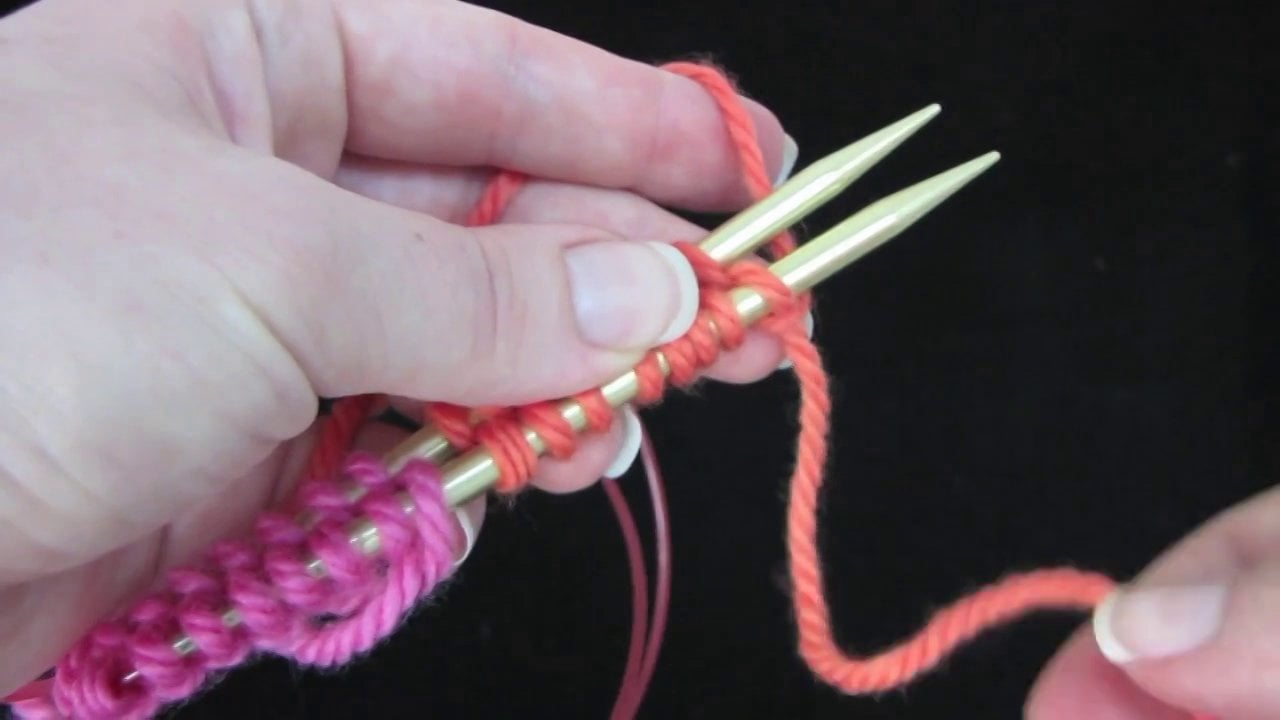
To Do the Judy’s Magic Cast-On (JMCO) for Two-at-a-Time Knitting:
1. Use a long circular needle to do this cast-on. I recommend 47 inches (120 cm).
2. Make sure to place a marker at the beginning of the round, since your tail will be on the inside of your work and, after a while, you won’t be able to see it.
3. To knit the first round, start with the knit side facing towards you and the needle tips pointing to the right. Pull the bottom needle out to start knitting in the round on Magic Loop.
More Info:
The matching bind-off for this and all double-sided cast-ons is Kitchener Stitch.
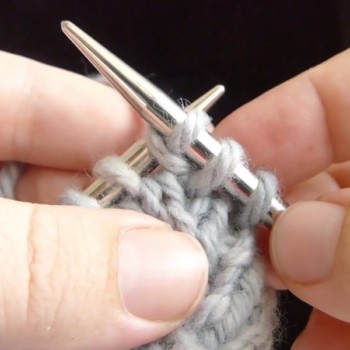
Clarifying the “Bottom Needle/Back Needle” Concept
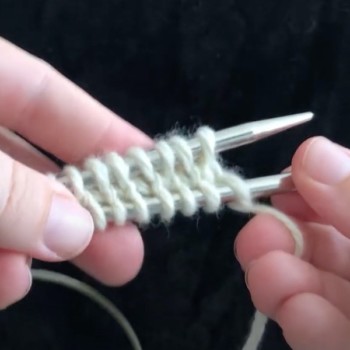
The instructions for Judy’s Magic Cast-On have you using the bottom needle, not the back needle, to pull and knit with.
On the first round, rotate your needles so that the bottom needle becomes the back needle.
Free Video for Subscribers
![]()
![]() This video is available to anyone with a free subscription. Sign up for free below.
This video is available to anyone with a free subscription. Sign up for free below.
Already a member? Log in here to watch.
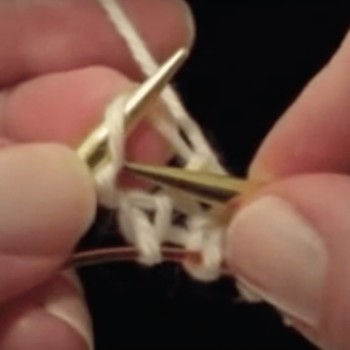
Tips for Knitting First Round
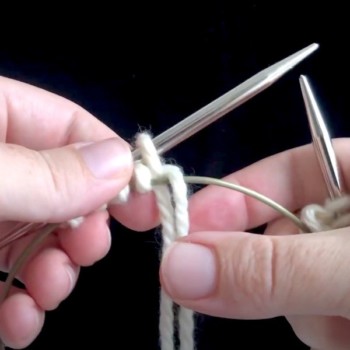
The trick to not losing your JMCO (Judy’s Magic Cast-On) stitches on toe-up socks is to twist the tail and working yarn of the second sock together a few times so that the stitches don’t fall off.
Free Video for Subscribers
![]()
![]() This video is available to anyone with a free subscription. Sign up for free below.
This video is available to anyone with a free subscription. Sign up for free below.
Already a member? Log in here to watch.
KnitFreedom student Leila S. shares this advice: “I’ve managed to keep sane with my first rows with JMCO by tying the tail in a loose knot on that pesky first stitch. The knot doesn’t show or alter the look of the other stitches on the first or subsequent rows. It works for me, and, as I said, keeps me somewhat sane.
“Also, instead of cutting the tail to preclude working with it, I’ve found it helpful to weave it in if I’m satisfied with my CO row. That way, the tails are out of my way, and I continue knitting with the toes already shaping themselves into little pockets.”
How the Toe Increases Work
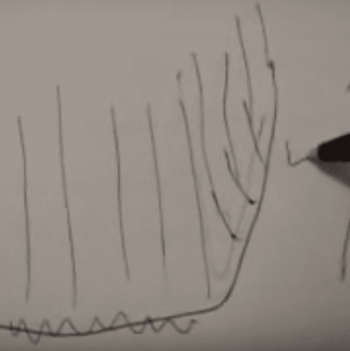
In these two videos, I show you how to do the two kinds of increases found in your pattern, the M1L and M1R, and why we do them. Continue increasing as in the video until your socks contain the specified number of stitches.
Restricted Video
![]()
![]() This video is available to members of Knitting Superstar University or the following classes:
This video is available to members of Knitting Superstar University or the following classes:
If you own this class, please LOG IN to watch.
Optional: Easier Increases
The key to doing easier increases on your toe-up socks is when you are substituting KFB for M1, remember to knit until there are two stitches left in the round and then do your KFB.
Related video: KFB – Knit Front and Back
Several students have said doing the M1 increases, especially on fingering-weight yarn and at the fiddly beginning of toe-up socks, is just too hard.
For them, and you, I’ve made the following video:
Free Video for Subscribers
![]()
![]() This video is available to anyone with a free subscription. Sign up for free below.
This video is available to anyone with a free subscription. Sign up for free below.
Already a member? Log in here to watch.
Increasing On Your Socks
Since I’m knitting along with you, I’ll show you what this looks like on your socks. You can also review the videos for M1L and M1R in your video dictionary. By the way, this is the hardest part. It’s all downhill from here.
Restricted Video
![]()
![]() This video is available to members of Knitting Superstar University or the following classes:
This video is available to members of Knitting Superstar University or the following classes:
If you own this class, please LOG IN to watch.
Keeping Track Of Your Increases

Here’s how to read your work so you don’t have to write anything down while you knit.
Restricted Video
![]()
![]() This video is available to members of Knitting Superstar University or the following classes:
This video is available to members of Knitting Superstar University or the following classes:
If you own this class, please LOG IN to watch.
Here’s what it looks like when you’ve finished increasing for the toes. Tip: tuck your tails inside your socks to keep them out of the way. 
