Ch. 6 Advanced Fair-Isle Knitting
These are the last tips that you need to know to be truly prepared for anything and everything Fair-Isle.
Fair-Isle On Flat Projects
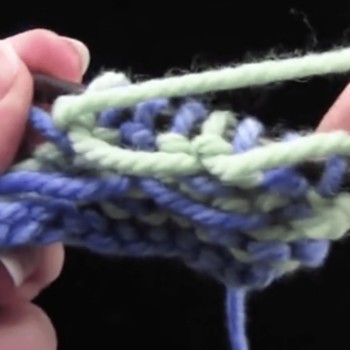
Sometimes, you’ll want to knit Fair-Isle back-and-forth on a flat project.
Anything that has an all-over color design just on the front (for example, a throw pillow) is perfect for this technique. Here’s an example of a beautiful throw pillow project that is knit flat. It’s a favorite of mine: the Regal Frost Cushion by Jo Sharp, published in Handknit Holidays.

To learn to knit Fair-Isle back-and-forth, let’s just practice on a swatch, using the same bulky yarn you used for the felted bag.
We’re also going to use the same chart we used for the felted bag.
You can use the same circular needles that you used for the felted bag project, but if you have straight needles it will be easier, because you won’t have the loop of cable coming towards you and getting in the way.
The main thing that differentiates this project from what we’ve done with Fair-Isle in the round is that you’ll be purling on the wrong-side, and the yarns and floats are going to be facing you.
Work along with me on the chart, and I’ll show you how to do it.
Restricted Video
![]()
![]() This video is available to members of Knitting Superstar University or the following classes:
This video is available to members of Knitting Superstar University or the following classes:
If you own this class, please LOG IN to watch.

You can make your own cushion cover designs by picking your favorite Fair-Isle charts out of a motif book (here’s one suggestion), or drawing up your own charts by coloring in graph paper.
Speaking of striking out on your own, a great resource to have by your side is the Book of Fair-Isle Knitting, a recent and much-lauded book by famed Fair-Isle yarn- and knitwear designer Alice Starmore.
Knitting With Three Colors in One Row
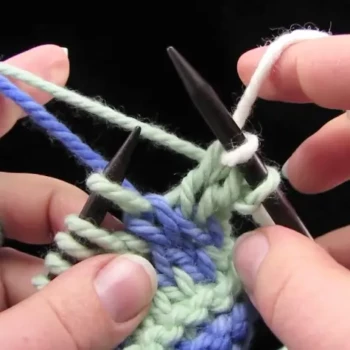
Some patterns call for you to hold and knit with three colors in one row.
The key is to use the last option for Fair-Isle knitting that I taught you – holding one yarn in each hand – only this time you’ll hold two yarns in one hand and one yarn in the other.
Restricted Video
![]()
![]() This video is available to members of Knitting Superstar University or the following classes:
This video is available to members of Knitting Superstar University or the following classes:
If you own this class, please LOG IN to watch.
You can work up to being comfortable with this style by practicing with just one yarn in each hand. Again, this type of pattern is not very common, so don’t stress if you can’t get the three yarns to behave right away.
Fair-Isle Ribbing
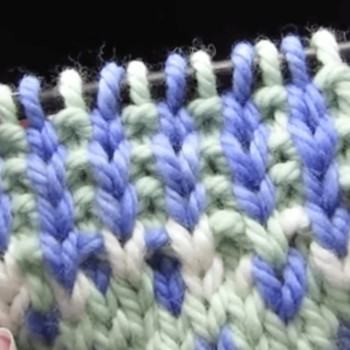

A beautiful detail that some patterns include on cuffs is a Fair-Isle rib.
While this isn’t too much harder than what we’ve done in this book, it does incorporate knitting and purling with two yarns in the same row – a worthwhile skill to practice together before you strike out on your own.
Fair-Isle ribbing, which is almost always worked in the round, calls for the knit stitches to be one color and the purl stitches to be the other color.
This makes it easy in that you don’t have to look at a chart to see what color to use.
Follow along with me as I knit a small swatch in Fair-Isle rib.
Restricted Video
![]()
![]() This video is available to members of Knitting Superstar University or the following classes:
This video is available to members of Knitting Superstar University or the following classes:
If you own this class, please LOG IN to watch.
Congratulations on working through this entire Fair-Isle knitting course.
You’ve added a great new set of skills to your knitting repertoire, and I know you’re going to love being able to knit all the patterned projects you can make now.
