Finishing the Legwarmers
Finishing the First Leg Warmer
Wonderful! You’ve learned so many new skills. Be assured that it’s all downhill from here.
Continue working the leg warmer according to the chart until you reach the very last row.
If you happen to run out of yarn and need to switch to another ball, just try to make the switch on one of the edges of the leg warmer.
Once you complete the chart, return to the written pattern directions on Page 2 of the Leg Warmer Pattern.
Working back across row 54, the next 3 rows are knitted in St st, just like at the beginning of the leg warmer. Just knit on the RS, and purl on the WS.
Lastly, to prevent the top of the leg warmer from curling, finish with one row (row 58) of 1×1 rib.
This will be bound off in pattern, meaning following in the rib sequence established in the previous row.
Bind Off In Pattern
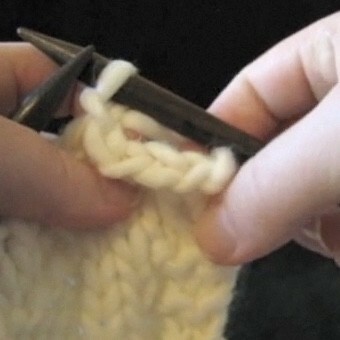
The pattern instructions describe how to do this, and I demonstrate it in the following video.
Video: How to Bind Off in Pattern
Restricted Video
![]()
![]() This video is available to members of Knitting Superstar University or the following classes:
This video is available to members of Knitting Superstar University or the following classes:
If you own this class, please LOG IN to watch.
Knitting the Second Leg Warmer
Yay! You’ve finished one leg warmer. Before you move right into the finishing steps, let’s knit the other leg warmer.
Just follow the chart on Page 4 of the Leg Warmer Pattern – you’ll notice that the only difference is that the buttonholes appear at the beginning of the rows instead of at the ends. If you feel up to it, why not challenge yourself and give cabling without a cable needle a try?
Just for your reference, below is a written cheat-sheet that might help. A friend of mine said this helped him a lot when he was first learning this technique.
Cables Without a Cable Needle – Cheat Sheet
Left-Leaning Cables
T3L – Right needle goes behind, gets a purl stitch
C4L – Right needle goes behind, gets two knit stitches
Right-Leaning Cables
T3R – Right needle goes in front, gets two knit stitches
C4R – Right needle goes in front, gets two knit stitches
That’s it! Follow the chart to finish the second leg warmer, and then it’s time to add the finishing touches.
By the way, you can wait to weave in your ends until you’ve sewn the buttons on – that way you can do all tapestry-needle-related tasks at once.
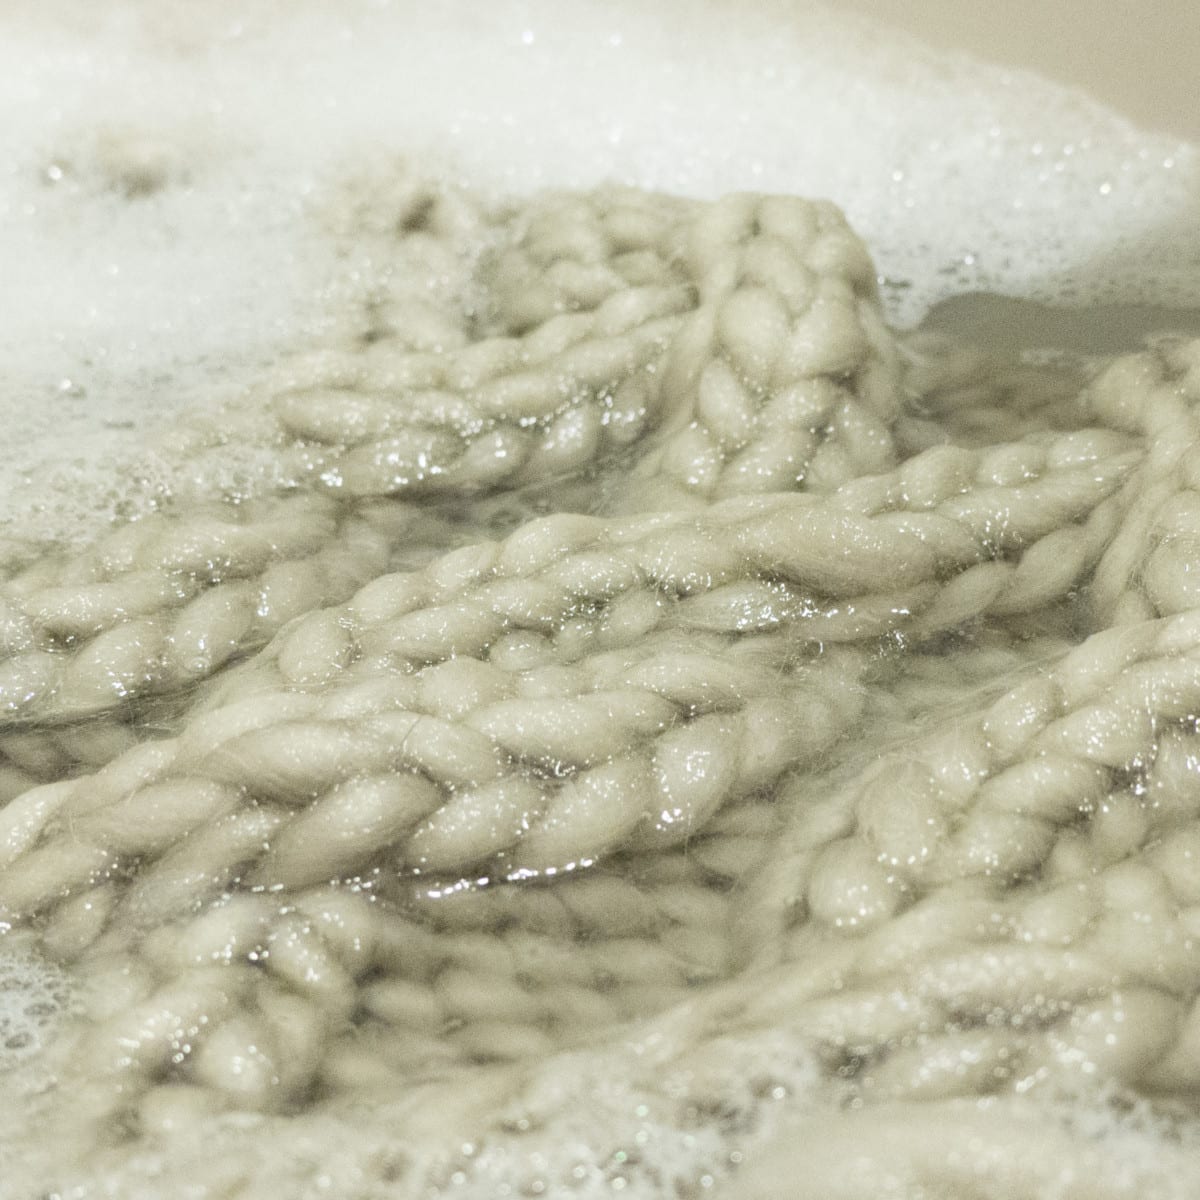
Blocking
Blocking is magic, and if you don’t believe me, look at these pictures.
The unblocked leg warmer (left) just came off the needles, whereas the blocked leg warmer (right) had a 20-minute soak in lukewarm water with a little wool wash, and was then squeezed in a towel and spread out to dry.
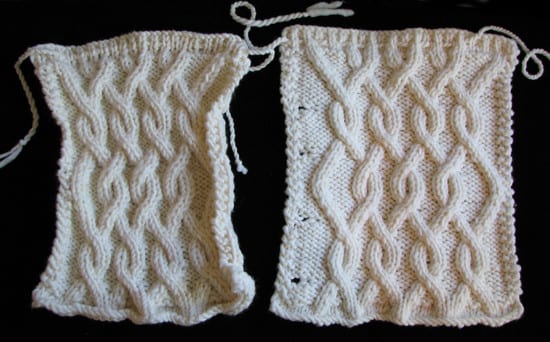
So block both your leg warmers, using your fingers to shape them into 15×17-inch rectangles.
Sewing on Buttons and Weaving in Ends
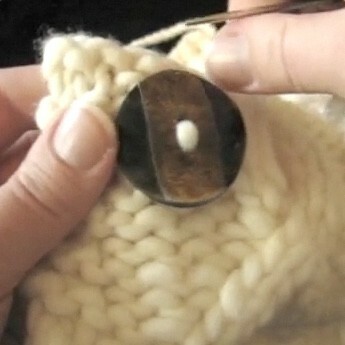
Depending on the size of the holes in your buttons, you may need to use a smaller tapestry needle to thread the yarn through. Here’s how I like to affix my buttons and weave in my tails.
Video: How to Sew on Buttons and Weave in Ends
Restricted Video
![]()
![]() This video is available to members of Knitting Superstar University or the following classes:
This video is available to members of Knitting Superstar University or the following classes:
If you own this class, please LOG IN to watch.
Twisted-Cord Tie
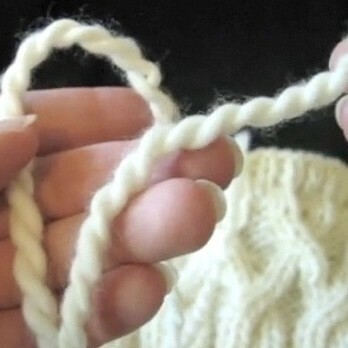
A twisted cord can be done by hand, but it is much faster if you have access to a ball-winder.
If you don’t have one, just take your leg warmers down to your LYS and ask to borrow theirs – the employees will probably be amazed at your nifty idea.
You’ll need two eight-foot lengths of yarn and a tapestry needle for this step.
Video: How to Make a Twisted-Cord Tie
Restricted Video
![]()
![]() This video is available to members of Knitting Superstar University or the following classes:
This video is available to members of Knitting Superstar University or the following classes:
If you own this class, please LOG IN to watch.
Caring For Your Leg Warmers
 I hope you get lots of wear out of your new leg warmers. Don’t underestimate the power of wool!
I’ve worn the brown pair featured in this class through two Montana winters, through snow and rain, day in and day out.
They really keep the snow out, and they keep the legs of your jeans nice and dry.
In order to keep your leg warmers looking their best, you should re-block them after the winter is over (especially if they’ve got ice-melter crystals or dried leaves stuck to them).
You can also shave any pilling or fuzz of them with a good sweater-shaver and they will look brand-new again. ❤️
