Ch. 4 The Purl Stitch
Get Ready To Purl

You’re going to learn to purl, but first, get set up.
Cast on 16 stitches and knit one row (work along with the video), and you’ll have a good foundation to learn the purl stitch. This will also be a good opportunity to review proper knit-stitch technique.
Restricted Video
 This video is available to members of Knitting Superstar University or the following classes:
If you own this class, please LOG IN to watch.
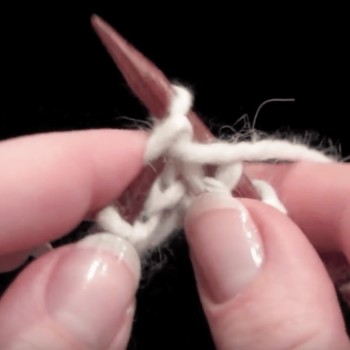
Introducing the Purl Stitch

A knit stitch does not look the same from both sides, as you can see from examining the 16 knit stitches you just made.
A knit stitch is smooth on the front, and bumpy on the back. The reason we learn the purl stitch is so that we can put the bumpy part on the front of the work, if we want to.
Like a computer’s binary code, made up entirely of ones and zeros, different arrangements of smooth and bumpy stitches (knit and purl stitches) combine in knitting to create infinite textures, patterns, and designs.
Now let’s learn the all-important purl stitch. The purl stitch is abbreviated “P” or “p,” and is spelled “purl” (never “pearl”).
Restricted Video
 This video is available to members of Knitting Superstar University or the following classes:
If you own this class, please LOG IN to watch.
Practice knitting using JUST the purl stitch, for about 5 rows.
You’ll notice that you are making the same fabric you made in the beginner scarf in the Learn-to-Knit course: Garter-stitch.
Following are some troubleshooting tips to help you while you practice.

