Extras
In this chapter, I highlight a few extra techniques that may come up while you are working on beginner and intermediate crochet patterns.
Increasing
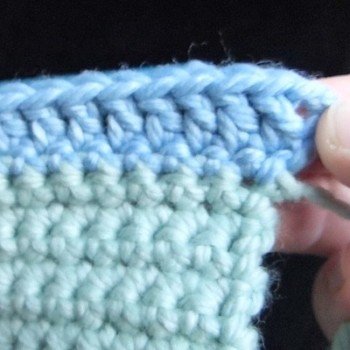
Increasing makes your work get wider. You increase the number of stitches in the row or round.
You practiced increasing on the Striped Hat project, although you may not have realized it. To increase on crochet, you simply work two (or more) stitches into the space of one.
Restricted Video
![]()
![]() This video is available to members of Knitting Superstar University or the following classes:
This video is available to members of Knitting Superstar University or the following classes:
If you own this class, please LOG IN to watch.
To increase on a double crochet stitch or taller, you can work a stitch into the stitch at the base of the turning chain that you would normally skip.
Decreasing
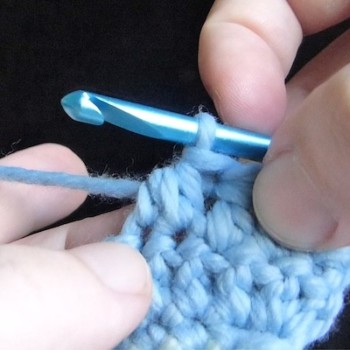
Decreasing makes your work get narrower. It reduces the number of stitches in your row or round.
Decreasing on crochet is very logical and quite easy.
To decrease on crochet, work up to the last step of your stitch, then instead of finishing the stitch, insert your hook in the next stitch and work up to the last step. Yarn over and pull the loop through all remaining loops on hook.
Restricted Video
![]()
![]() This video is available to members of Knitting Superstar University or the following classes:
This video is available to members of Knitting Superstar University or the following classes:
If you own this class, please LOG IN to watch.
To decrease at a 90-degree angle at the beginning of the row, slip stitch into each stitch you want to decrease.
To decrease at a 90-degree angle at the end of a row, just stop the number of desired stitches before the end of your row.
Circles
 To create a perfectly flat circle in crochet, you’ll follow the same concept you did on the crown of your crocheted hat.
You’ll start with a base chain joined to form a circle, or use the Magic Ring. Then crochet a number of stitches into the circle, depending on the rules of thumb below:
Single crochet: 6-8 sts
Half-double crochet: 8-10 sts
Double crochet: 10-12 sts.
The looser and taller your stitches, the more stitches you can cast on initially.
Now, work around the circle, increasing by the original number of stitches each time. To do so, you can use the following formula:
Round 1: Work 2 stitches into each stitch in the original circle.
Round 2: *Work 1 stitch, work 2 stitches into next stitch, rep. from * around.
Round 3: *Work 2 stitches, work 2 stitches into next stitch, rep. from * around.
Round 4: *Work 3 stitches, work 2 stitches into next stitch, rep. from * around.
Round 5: *Work 4 stitches, work 2 stitches into next stitch, rep. from * around.
Continue as above for as long as you want to keep growing your flat crocheted circle.
Thanks to the Spruce Crafts for specifying how many stitches to initially use to start your circle. I’ve modified their general guidelines based on my experience.
Fixing Mistakes
You’ll make a good number of mistakes in your crochet as you start out. The good news is that fixing mistakes on crochet is much easier for beginners than in knitting.
In case of a mistake, you’ll simply remove your hook from the loop, pull the yarn to remove the mistake, then start fresh once the mistake is removed.
Restricted Video
![]()
![]() This video is available to members of Knitting Superstar University or the following classes:
This video is available to members of Knitting Superstar University or the following classes:
If you own this class, please LOG IN to watch.
If you notice you’ve made a mistake, remove your crochet hook and tug the working yarn to pull out the stitch. If the mistake is further back in your crochet, keep pulling the yarn until the mistaken stitch has been unraveled.
Put the loop back on your crochet hook and work the stitch or stitches correctly, then keep going to finish your pattern.
The only time this is going to be a challenge is when your yarn is fuzzy and tends to stick to itself or felt together as you pull. If this is the case, just pull the yarn slowly and use your fingers to separate the stitches as you unravel them.
