Basic Long-Tail Cast-Ons
The cast-ons in this section work well for stockinette-stitch and garter-stitch fabric.
Long-Tail Cast-On

The long-tail cast-on is a beginner cast-on.
It is fast and easy to do and is moderately stretchy and sturdy.
To prepare for the long-tail cast-on, estimate how much tail you’ll need and make a slipknot that far into the working yarn.
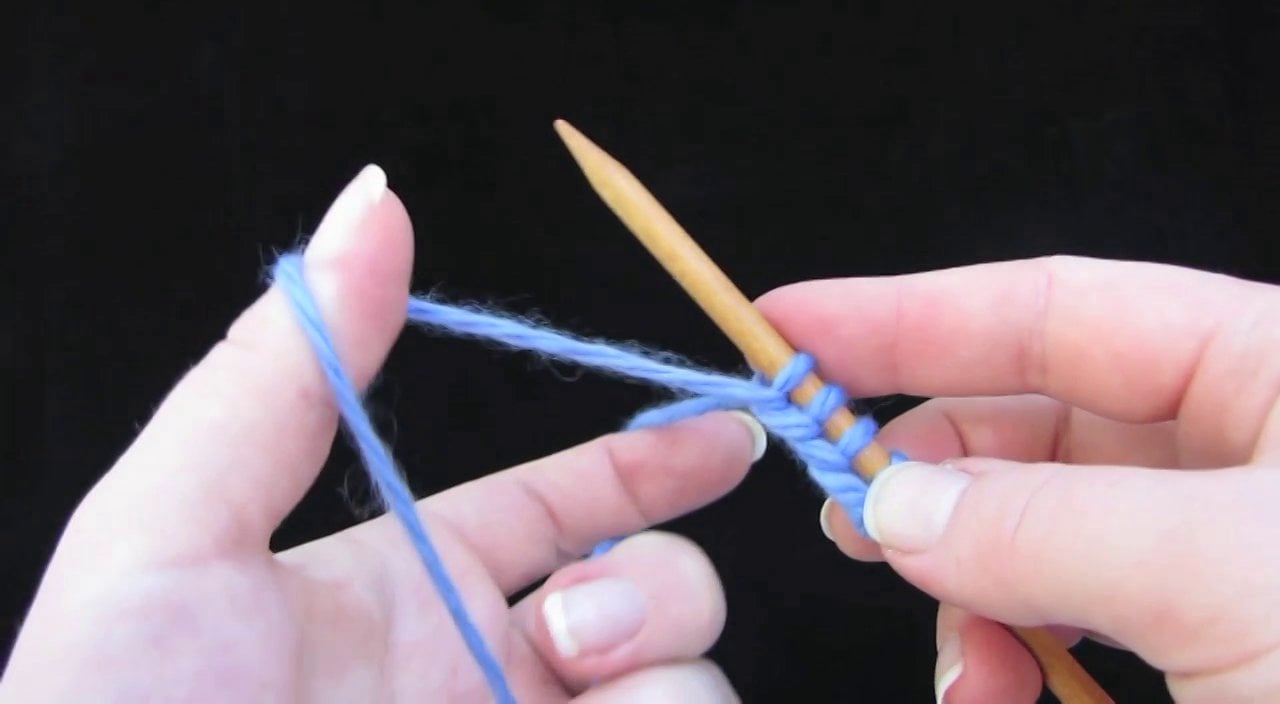
Put the slipknot on your right-hand needle, stabilize the slipknot with your right index finger, and position the yarn in slingshot position.
Long-Tail Cast-On
To Do the The Long-Tail Cast-On:
- Catch the strand of yarn on your thumb.
- Catch the strand of yarn on your index finger.
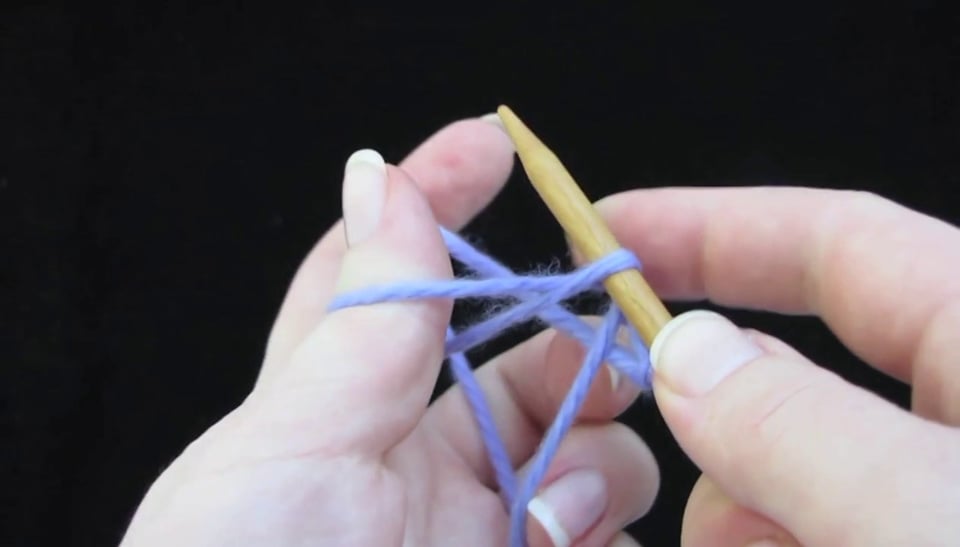
- Pull that loop through the one on your thumb.
- Let go of your thumb yarn and get back in position.
- Repeat Steps 1-4 until you have cast on as many stitches as you want.
Tips:
1. Don’t pull your Long-Tail Cast-On too tight. When you snug up the stitches as you cast on, tug with your thumb more than your index finger – this will tighten the knot and not the stitch itself. If you’ve casted on with good tension, you’ll be able to slide the stitches around on the needle, but they should not slide by themselves.
2. When you do any kind of long-tail cast-on, you are creating the first right-side row of knitting as you do your cast-on. This means that you need to start your knitting by doing a wrong-side row, otherwise you’ll get purl bumps on the front of your work.
Long-Tail Cast-On: Thumb Method

The Thumb Method is another way to create the Long-Tail Cast-On. I think it’s slower and more difficult than the standard way, but if you prefer this method, here’s how to do it:
Restricted Video
![]()
![]() This video is available to members of Knitting Superstar University or the following classes:
This video is available to members of Knitting Superstar University or the following classes:
If you own this class, please LOG IN to watch.
Grandma’s Cast-On

Grandma’s Cast-On is a stretchy long-tail cast-on that is easy, durable, and makes great edges for mittens, sleeves, and sweater collars.
Restricted Video
![]()
![]() This video is available to members of Knitting Superstar University or the following classes:
This video is available to members of Knitting Superstar University or the following classes:
If you own this class, please LOG IN to watch.
To Do the Grandma’s Cast-On:
- Measure out tail yarn as you would for the Long-Tail Cast-On.
- Hold the tail yarn in the left hand and one knitting needle in the right hand. Tension the working yarn in your right hand.
- Close your thumb over the yarn in your left hand.
- With your right hand, wrap the yarn around your thumb once counterclockwise.
- Insert the needle into the upper loop around your thumb. Pinch the needle tip with the fingers of your right hand.
- Wrap the working yarn around the needle tip as if to knit (counterclockwise).
- Pull the yarn through the triangle you created with the loops of yarn on your thumb.
- Drop the yarn from your left hand and pull to tighten. Do not pull working yarn.
- Repeat steps 4-8 for each additional stitch to cast on.
Tips:
You can make this cast-on stretchier or more firm by adding more or less space between the cast-on stitches.
More Info:
Thanks to Knitspot for teaching me this great technique!
Animated GIF: Grandma’s Cast-On
If GIF doesn’t play immeditately when clicked, wait 20-30 seconds. It will play. Click the GIF again to stop.

Old Norwegian Cast-On/Twisted German Cast-On

The Old Norwegian Cast-On is a slightly complicated long-tail cast on that is very sturdy and stretchy and has a pretty, double-twisted edge.
The Old Norwegian Cast-On can be used for stockinette stitch as well as ribbing.
To use it for stockinette stitch as shown in the picture, just do the knit version. To use the Old Norwegian Cast-On for ribbing, see the Alternating Old Norwegian Cast-On.
Old Norwegian/Alternating Old Norwegian Cast-on
Tips:
- For the knit version, pull the thumb yarn to tighten. For the purl version, pull the index-finger yarn to tighten.
- Remember that you are creating the first right-side row of knitting as you do your cast-on. This means that you need to start your knitting by doing a wrong-side row.
