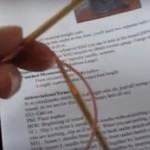
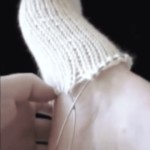
Cast On for Socks and Increase for Toe
Walk-Through of Toe-Up Sock Pattern
toe up socks
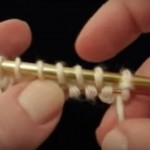
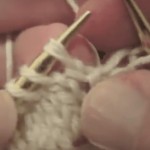
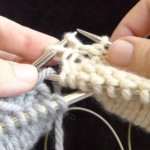
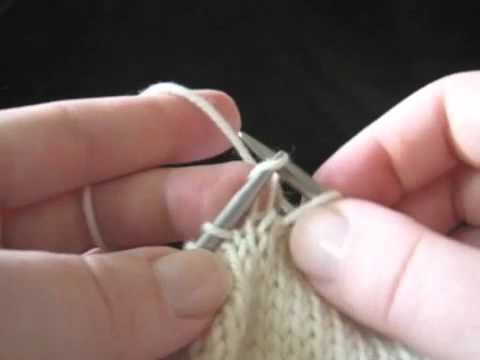
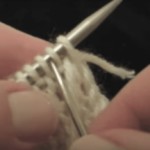
Judy’s Magic Cast-On – Basic

Judy’s Magic Cast-On – Basic
toe up socks
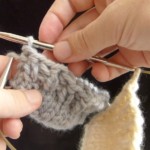
Cast On For Both Socks and Knit 1st Round
toe up socks
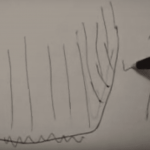
How Increases Work on Toe-Up Socks
toe up socks
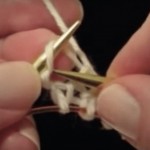
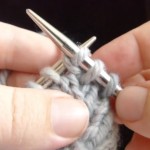
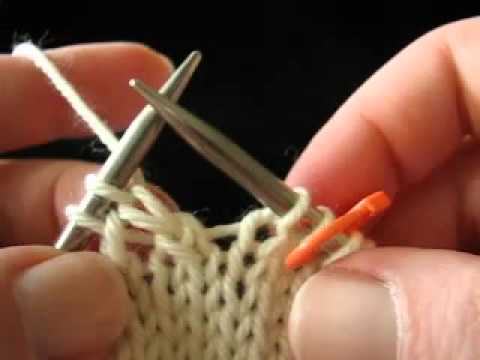
1st Increase Round: M1L and M1R Increases
toe up socks
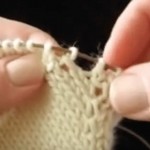
Read Your Work for Increases on Toe-Up Socks
toe up socks
Knitting into Judy’s Magic Cast-On (JMCO) – Bottom Needle/Back Needle
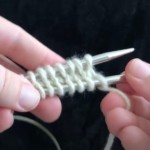
The instructions for Judy’s Magic Cast-On have you using the bottom needle, not the back needle, to pull and knit with. On the first round, rotate your needles so that the bottom needle becomes the back needle.
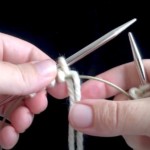
KFB Instead of M1R on Toe Up Socks – Easier Toe-Up Sock Increases
How to do easier increases on your toe-up socks: KFB (Knit Front-and-Back) instead of M1 (Make One)
Troubleshooting While You Knit
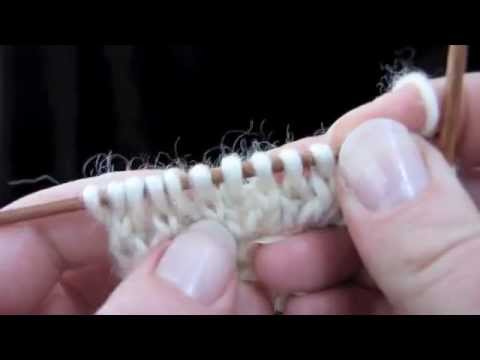
Stop Losing Cast-On Stitches – 1st Round of Toe-Up Socks
The trick to not losing your JMCO (Judy’s Magic Cast-On) stitches on toe-up socks is to twist the tail and working yarn of the second sock together a few times so that the stitches don’t fall off.
Removing Socks from Two-at-a-Time Needles to Unravel Then Put Back On
How to take off one or both socks from your two-at-a-time knitting project to unravel or fix mistakes and then put it/them back on.
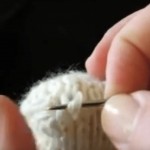
How to Fix a Loose Toe-Up Cast-On
toe up socks
Keep Yarn from Tangling on Two-at-a-Time Socks
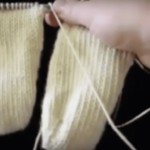
You’ve just learned the awesome technique of knitting two-at-a-time. Congratulations! This video shows you how you can avoid your yarn EVER tangling again.
Avoiding Gaps and Ladders in Two-at-a-Time Socks on Magic Loop

Avoiding Gaps and Ladders in Two-at-a-Time Socks on Magic Loop
top down, toe up socks
Socks Not Joined On One Side
top down, toe up socks
Knit the Foot and Heel
When To Start Increasing For the Fleegle Heel (Gusset)
A big issue for first-time knitters of toe-up socks is knowing when to start increasing for the Fleegle heel. Where exactly is “the front of your ankle?” Here’s how to tell.
Turn a Heel on Toe-Up Socks: The Fleegle Heel
Turn a Heel on Toe-Up Socks: The Fleegle Heel
The Fleegle Heel is an easy, beginner toe-up heel with no holes at the sides. You will have great success with the Fleegle Heel if this is your first time doing toe-up socks. Bonus: No wrap-and-turn needed!
Purl Backwards
Purl Backwards
To purl backwards, insert the left-hand needle from front to back through the first stitch on your right-hand needle. Wrap the yarn around the left-hand needle counter-clockwise (towards you), and then pull the stitch on the right-hand needle over the wrap and off the needle.
Final Decreases on Fleegle Heel
toe up socks
Knit Cuff and Finish Sock
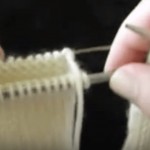
Invisible Ribbed Bind-Off for 1×1 Rib – Toe-Up Socks
toe up socks
Binding Off on Two at a Time Socks – JSSBO
To bind off on two-at-a-time socks, you’ll need to save the very last stitch of the first half of the first sock. Reserve it on the needle. Then bind off the second sock. Then resume binding off the first sock.
How to Weave in Ends on Toe-Up Socks

toe up socks
Bonus! Toe-Up Socks with a "Faux" Heel Flap
Faux Heel Flap for Toe-Up Socks

Faux Heel Flap for Toe-Up Socks
This integrated “faux” heel flap for toe-up socks is useful when you want to add a heel-stitch pattern, make the heel in contrasting color, or adjust for high insteps. There is no picking up stitches, no seams, and no holes.
Slip-Stitch Heel Pattern

Slip-Stitch Heel Pattern
Adding a textured heel flap is an easy way to make the socks more interesting AND to make the heel more durable at the same time.The slip-stitch heel is super-easy, and it is also nice and stretchy – great if you’re not sure how big the sock-recipient’s ankle is.
Eye-of-the-Partridge Heel Pattern
Eye-of-the-Partridge Heel Pattern
The Eye-of-the-Partridge heel pattern adds durability and a lovely textured look to your sock’s heel flap. Knit using a combination of slipped and knit stitches, you can knit this on top-down or toe-up socks.
