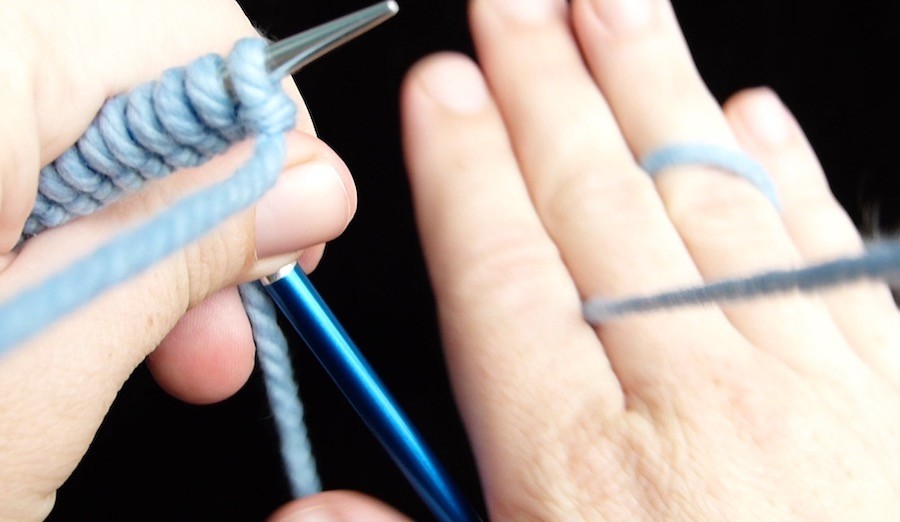
Hand pain and arthritis limit the amount of time you can knit each day. The Portuguese method of knitting is a stress-free way of knitting that frees up your hands to enjoy knitting and removes tension.
In Portuguese Knitting, the yarn is tensioned around the back of the neck or a knitting pin pinned to your shirt, and very gently threaded through the fingers of your right hand. A small flicking movement with the left thumb is all that you need to do to make comfortable and even knit and purl stitches.
Tension Your Yarn for Portuguese Knitting
Video Below
 To tension your yarn for Portuguese knitting, hold the needle with the stitches to be knit in your left hand.
From the needle, wrap the working yarn around the back of your neck from left to right. Weave the yarn lightly through the fingers of your right hand. From your right hand the yarn goes to the ball.
You can control the yarn tension by pushing your hands further away or bringing them closer towards you, as well as feeding more yarn from the yarn ball through the fingers of your right hand and readjusting the yarn around your neck.
Learn to Do the Portuguese Purl Stitch
Video Below
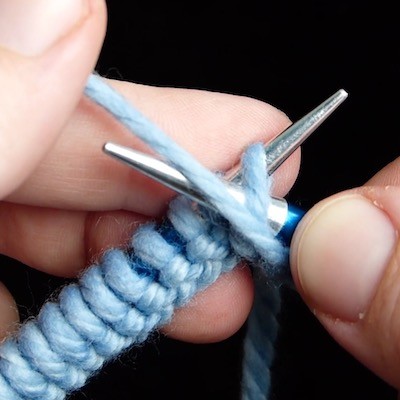
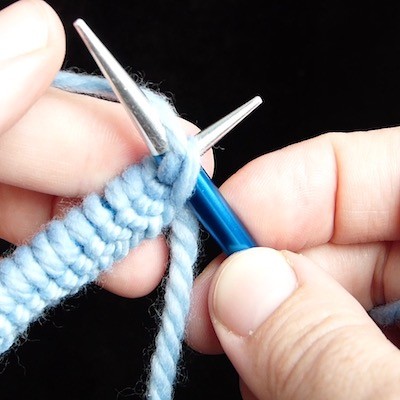
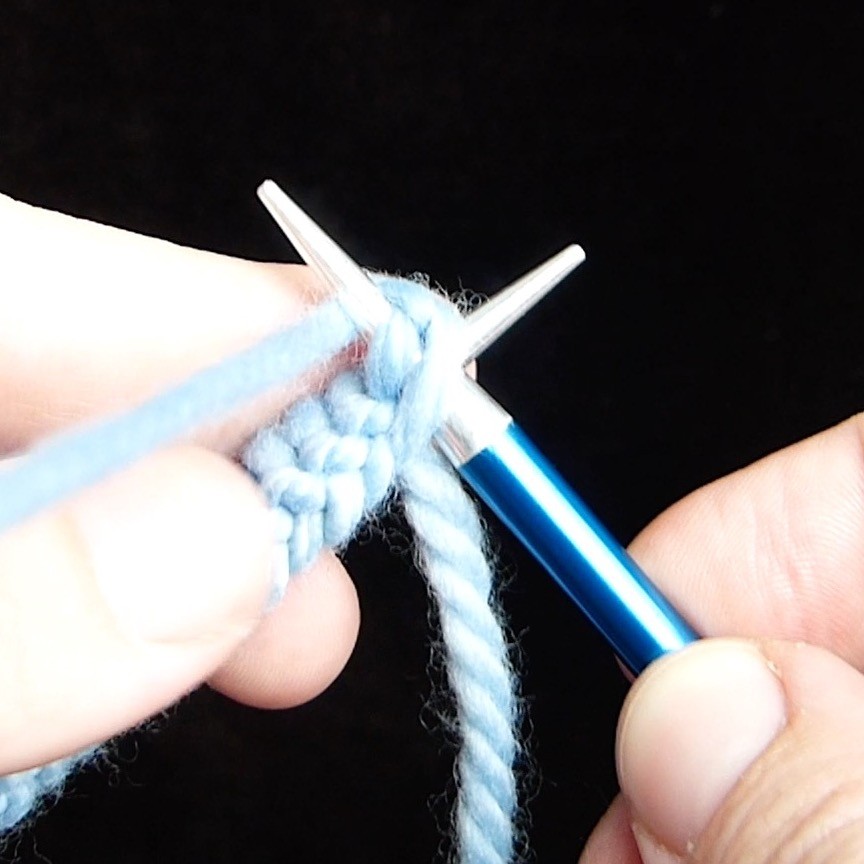
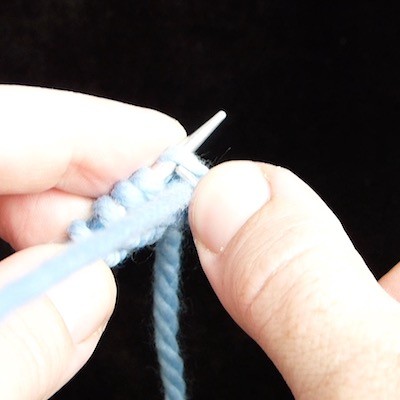
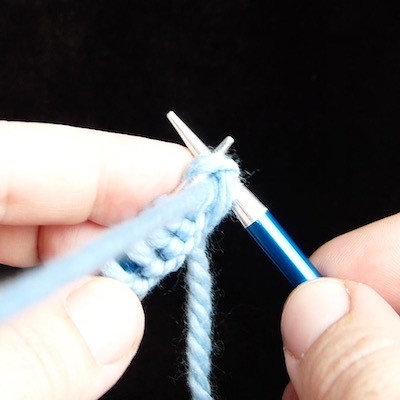
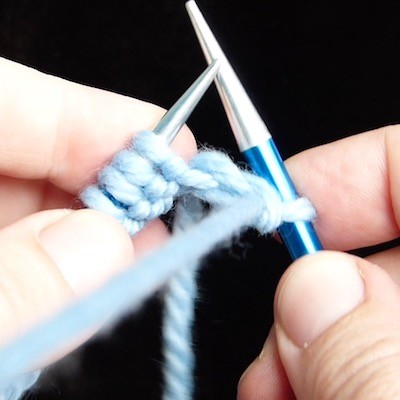
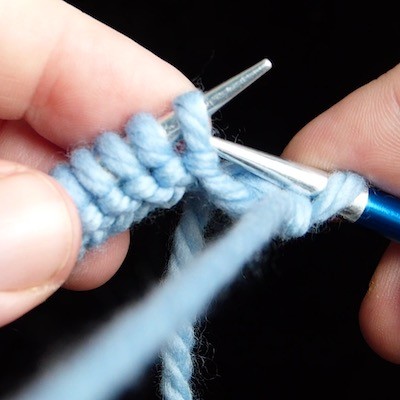
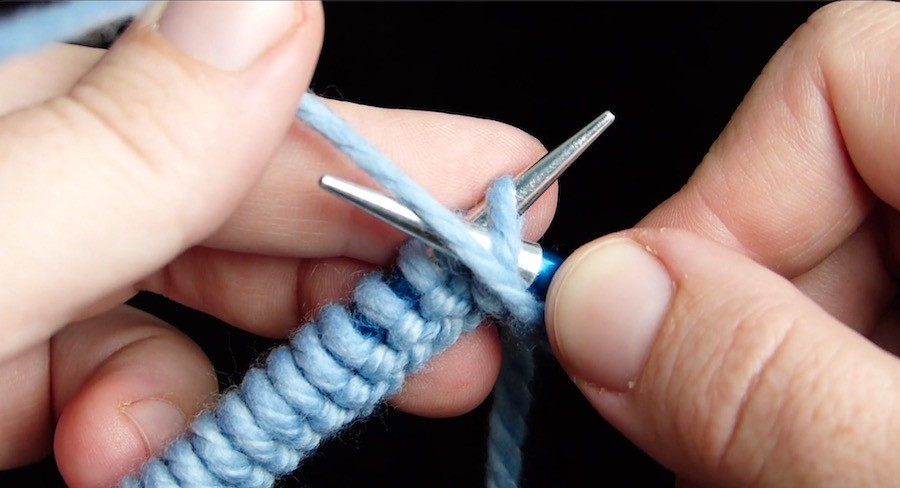 In Portuguese knitting, the purl stitch is the most basic stitch and it is easier to do than the knit stitch.
To do a Garter-stitch scarf Portuguese-style, you purl every row. To do a sweater, you purl every round and then turn the sweater right side out.
For me, the Portuguese purl stitch is much easier than the American and Continental styles of purl stitches. You can incorporate it into your knitting even if you do not ever use the Portuguese knit stitch.
Video: How to Tension Your Yarn and Do the Portuguese Purl Stitch
The Portuguese Purl Stitch is an exclusive members’ video. To access this and all other 450+ time-saving knitting videos, get personal email help and request your own videos, become a member here. Starts at just $12.99/month!
Member Video
 This video is available to KnitFreedom members.
Become a KnitFreedom Member Here
and get this and over 450 time-saving knitting videos for just $12.99/month.
If you are a KnitFreedom member, please LOG IN to watch.
Portuguese Purl Stitch Step-by-Step Instructions
Learn the Portuguese Knit Stitch
Video Below
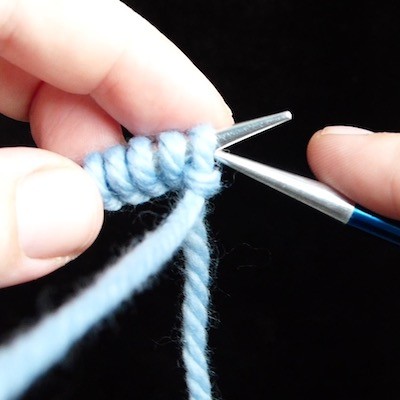
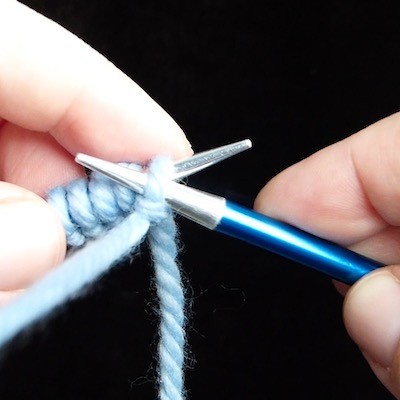
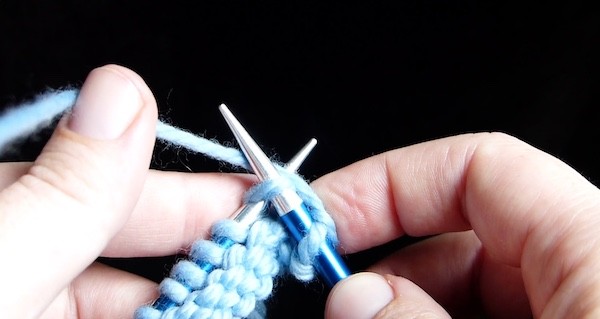 In Portuguese knitting, it seems incredible but the same flick of the left thumb is all you need to create a knit stitch.
However, the default yarn position and the movement of the needles is very different than American and Continental-style knitting. It can even seem counterintuitive. Watch the video below to make sure you’re doing it right.
Video: Learn the Portuguese Knit Stitch
The Portuguese Knit Stitch is an exclusive members’ video. To access this and all other 450+ time-saving knitting videos, get personal email help and request your own videos, become a member here. Starts at just $12.99/month!
Member Video
 This video is available to KnitFreedom members.
Become a KnitFreedom Member Here
and get this and over 450 time-saving knitting videos for just $12.99/month.
If you are a KnitFreedom member, please LOG IN to watch.
Portuguese Knit Stitch Step-by-Step Instructions
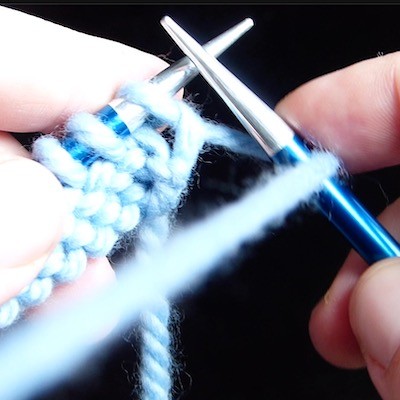
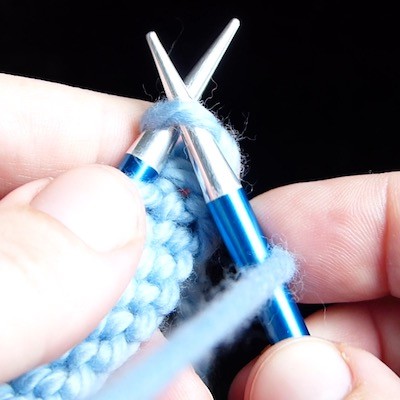
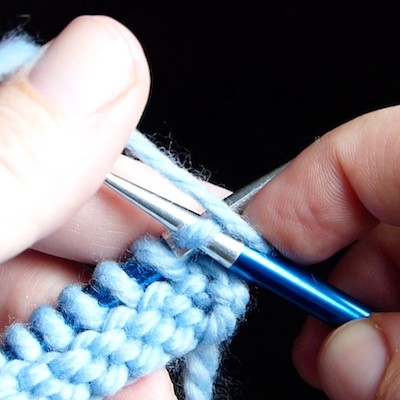
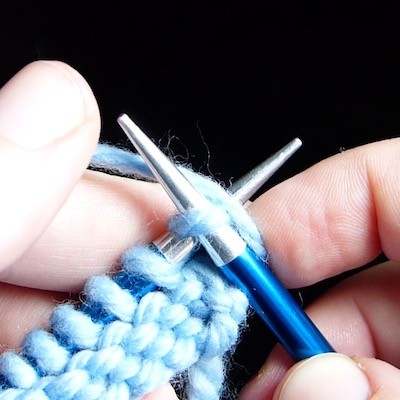
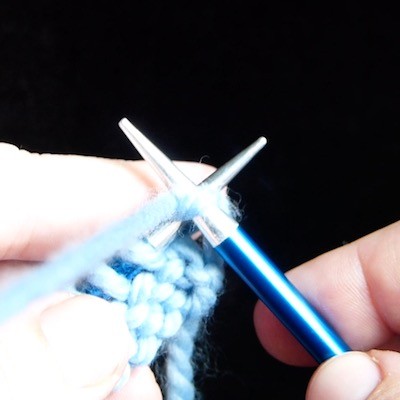
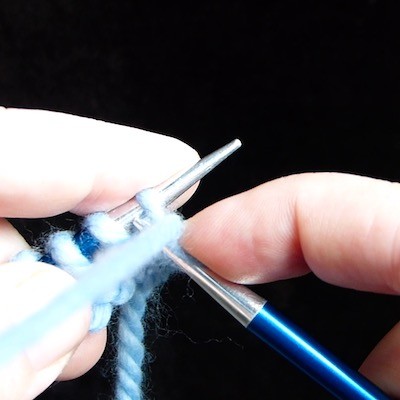
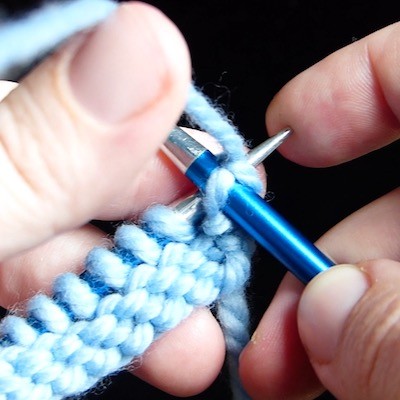
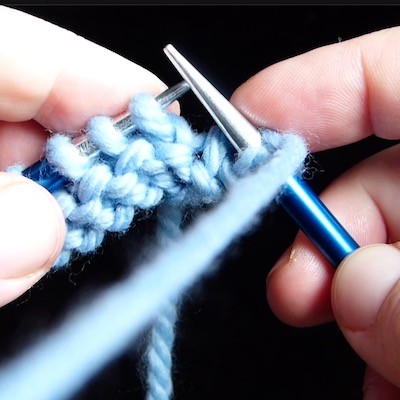
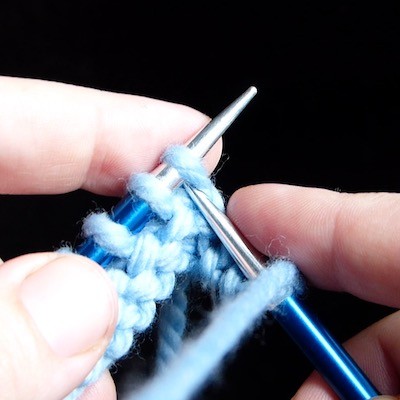
…and there you have it! You can now knit and purl without wearing out your hands tightly tensioning your yarn. Good luck and let me know if you have any questions!
Stop Going Crazy Searching for Videos
You can learn almost any knitting technique for free online, but no one is going to show you with the same clarity, calmness, and respect for your time as we do at KnitFreedom.
Stop wasting time looking up videos on YouTube, only to come away with more questions than you had when you started. Enjoy learning knitting again!
Get instant access to over 450+ time-saving knitting videos with KnitFreedom. Starts at $12.99/month.
Leave a Comment
Did you try Portuguese knitting? Do you have any questions on how to do it? How’s it working out for you? Let me know in the comments!




21 thoughts on “Portuguese Knitting: How to Portuguese Knit and Purl”
Hi Liat!
Thank you for the videos!
I’m going to do a Cowl that is a lot of seed stitch. I would love a video on how to do Portuguese knitting on going back and forth- knit/purl. Also handy for ribbing on a hat!
Thank you!
Annie
Thank you for the suggestion Annie! I don’t have video on Portuguese ribbing right now, although I am sure there are many online. Good luck!
I’m excited to try Portuguese knitting!
This method is the only way I knit. It frees up all my fingers and tension is easier to regulate.
Hooray! I’m so glad to hear it. Thanks for your comment!
-Liat
Hi Liat! I am SO excited to try this!! I am especially curious to see if it could possibly help me with my tension issues in double knitting..have you tested it out for holding two yarns at once yet?
Hi Erica,
Sorry it took me so long to reply! I did answer your question in the Q&A call. I have not yet experimented with holding two yarns Portuguese style for double knitting BUT there is a section in Andrea Wong’s “Portuguese Style of Knitting” book that shows how to do it. The yarns are held one in each hand.
She says, “Many of my students claim that ribbing, brioche stitch, and double knitting when worked Portuguese style has a rhythm that makes the work easier and more pleasant… it requires less maneuvering of your hands when you work with the yarn available in front of the work at all times.”
So now I am very curious to try this! I’ll continue working my way through her book and learning the tips she has to offer. I may do a full Portuguese knitting class one showing how to do all the different knitting techniques Portuguese style.
This video shows how to do Portuguese Knitting very clearly. I have arthritis in my hands and this method allows me to knit longer without pain. I also like how even my stitches look with the more consistent tension than I have with the other methods. Do you think Portuguese knitting or Continental is faster?
Thanks so much for creating this video! Loving the purling option in Portuguese knitting.
I love this method of knitting ! Thank you for the video – as always your videos and comments demystify all aspects of knitting I am such a fan of yours !
Hi Ruth,
Thank you so much for your awesome comment! This is so encouraging and motivating for me. Thank you dear!
I am not sure I want to try this again. I gave it a try a few years ago and found it not practical because it was difficult to “get out of” meaning when I had to stop to let the dog out or answer the phone, I felt trapped. With regular knitting, I just put it down.
Hi Janice,
I know what you mean. I find it’s really only convenient when I want to get “stuck in” and really knit for a while. It is nice to have the option to knit or purl this way when you have the chance. I use both this method and Continental.
Will I be able to Screen Mirror using my Apple devices? I don’t have very good eyes and can’t watch up close for long periods of time so I need to use my tv in order to watch things? Before I invest with using your platform to watch your videos, I will need this information. Thanks!!
Hi Karen,
Great question! Yes, you can access our videos from your phone and then use Screen Mirror to watch them on your TV. If you have any issues, please let us know!
I LOVE this kind of knitting, but I tension “Greek” style. The yarn goes around the neck from right to left and the yarn is held in the left hand. This is the way my mother taught me when I was young and I’ve been knitting this way for over 50 years. An added bonus, if you’re right handed, is that your right hand is free to grab your cup of coffee or glass of wine while you’re knitting.
Georgia,
This is great information! If you have a favorite tutorial showing the way you do it, I’d love to see it so I can share this option as well with our readers. I’m loving discovering all the different styles of knitting there are out there. I have yet to try the “needle under the arm” method, too. I’m looking forward to learning more about the “Greek” style – I do love me some coffee!
I have looked for tutorials online that show how I do it, but if you search “Greek knitting”, it will take you to Portuguese knitting. I just might have to do a tutorial of this style myself!
That would be great! If you want you can have a friend record a simple phone video of you doing it and send it to me via Whatsapp (email [email protected] and I’ll give you my number) and I can make a professional tutorial for it. If you want to share your knowledge! <3
I love Portuguese knitting. It really gets noticed when you’re kipping! I don’t want to discourage anyone from using this very different method of knitting, but realistically, it takes about a month to really get comfortable with the new way of knitting, especially getting used to tensioning the yarn comfortably. You’ll start with the yarn near your lap, where it should be, and suddenly find it “in your face!” Don’t get discouraged. Keep at it. After all, you didn’t learn to walk in one day, did you? Once you get used to it, you may never go back! Thanks, Liat, for learning and teaching this unique method of knitting. Trust me, it’s fantastic!!
Hi Rochelle,
Thanks so much for commenting! These encouraging comments are really going to help motivate our readers to try this fantastic technique. You are right, everyone should give themselves time to get used to the tension and discover how to make it work for them. For me it was the effort-free tensioning that made me instinctively come back to the technique outside of studying it for this video. I’m so grateful to my readers who kept mentioning this technique! Thank you.